So, you have signed up for hosting with 1and1 and want to install WordPress. The good news is that it’s a very easy process, and by following this guide on how to Install WordPress on 1and1 you can have your website up and running within 10 minutes.
0. Get a Domain Name and Web Hosting with 1and1
I labelled this step 0 because this tutorial assumes that you already have a domain name and a web hosting account with 1and1. If you don’t, you can sign up for both here.
1. Download WordPress
WordPress is a free, open source blogging platform that you can use to build all kinds of sites. To download a copy of the software, go to www.wordpress.org and click the “Download WordPress” button.
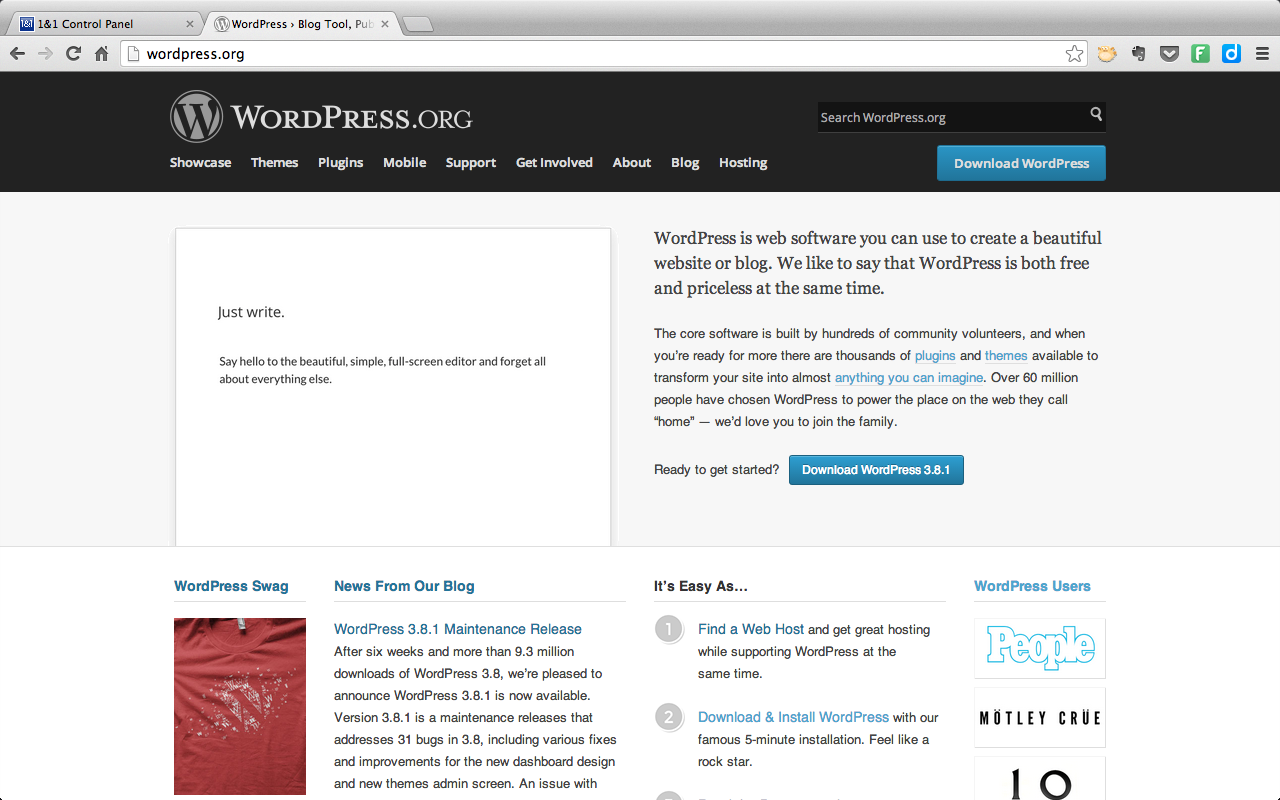
On the download page, there is a button on the right that says “Download WordPress [insert current version number here].” Click on that button, and the .zip file is saved to your computer (you can also get it in .tar.gz format, but the .zip file is easier to work with through the 1and1 web interface).
2. Create a MySQL Database
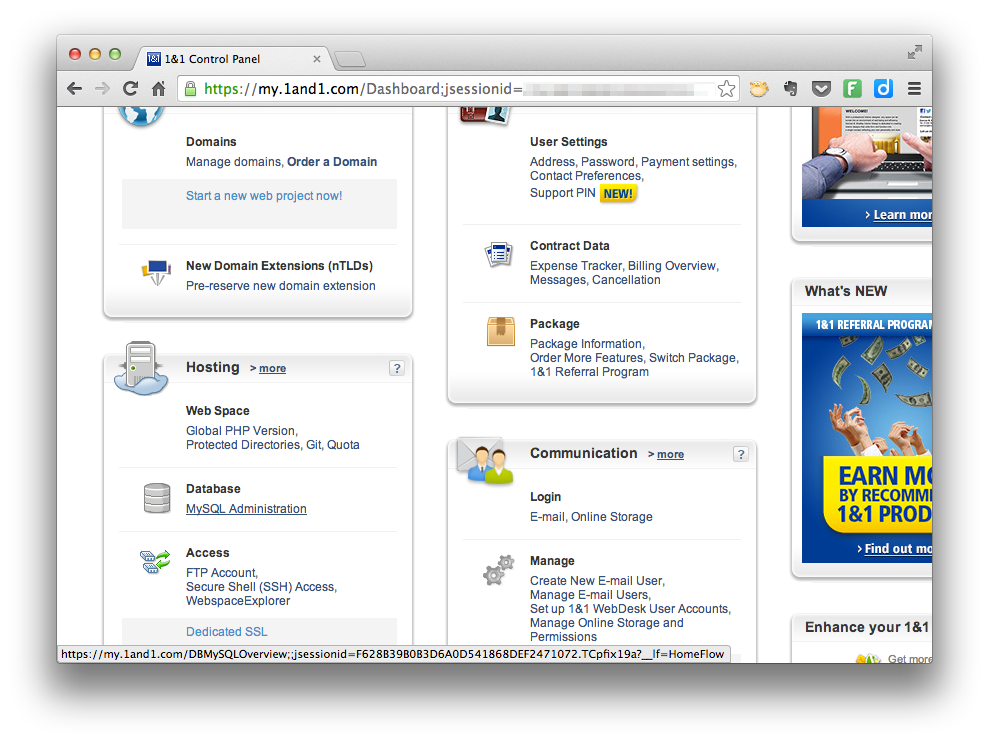
From your 1and1 home screen, click the “MySQL Administration” link in the Hosting section.
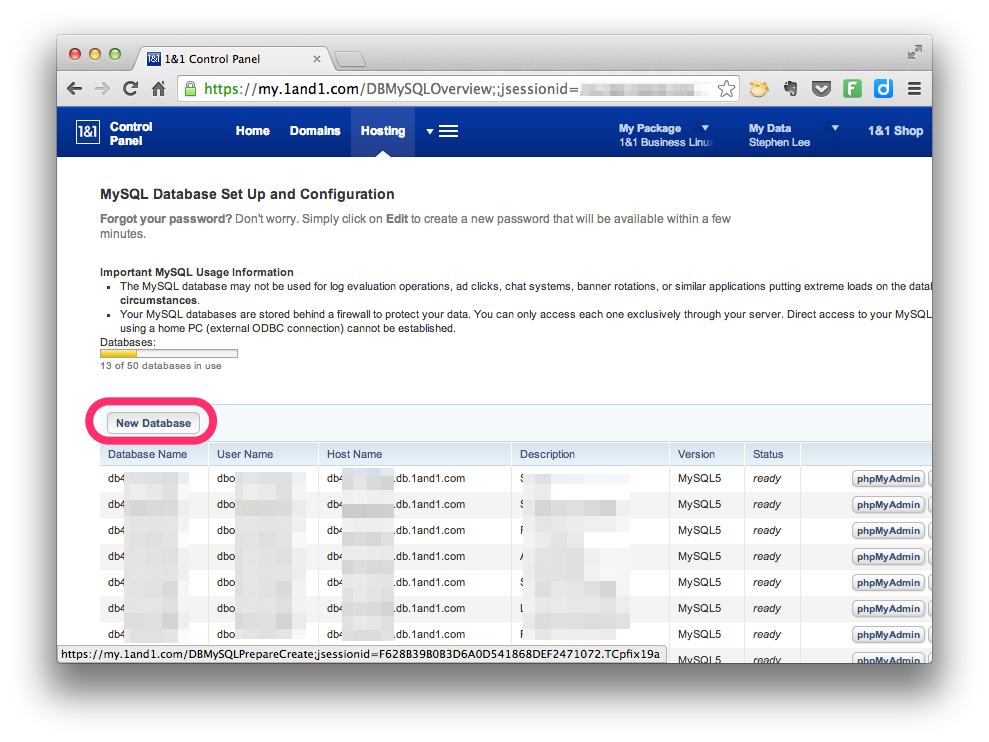
Click “New Database.”
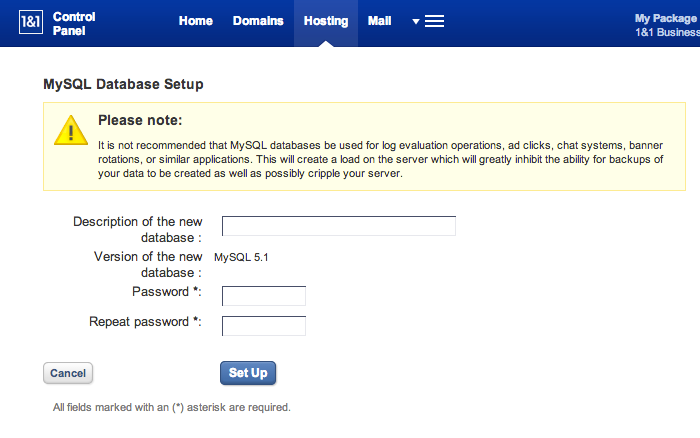
Next is to enter a description and password for the database.
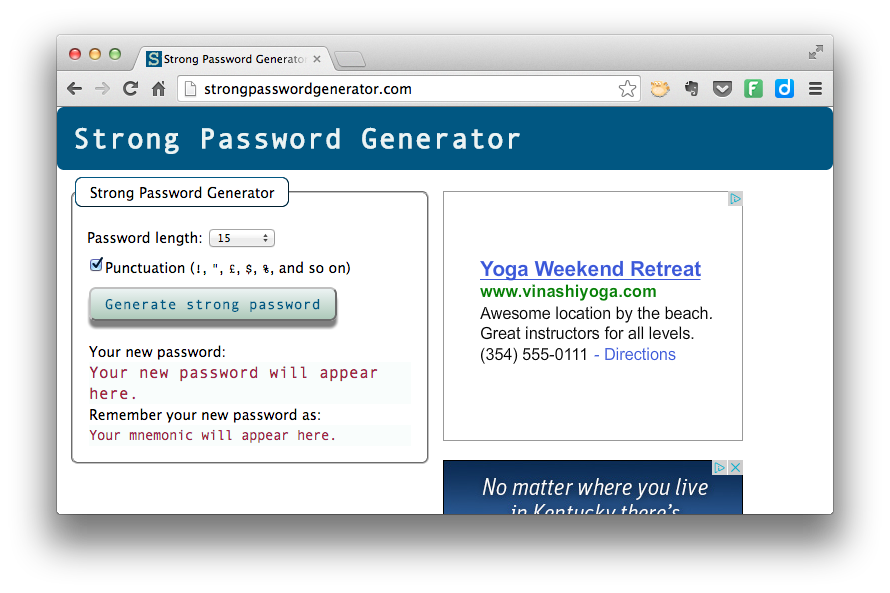
For security reasons, it’s good to have a complex password. Since the password is going to be saved in your configuration file, you won’t need to use it regularly. Because of that, you might want to go to strongpasswordgenerator.com and create a random 30-character password.
Enter the info and click “Set Up.”
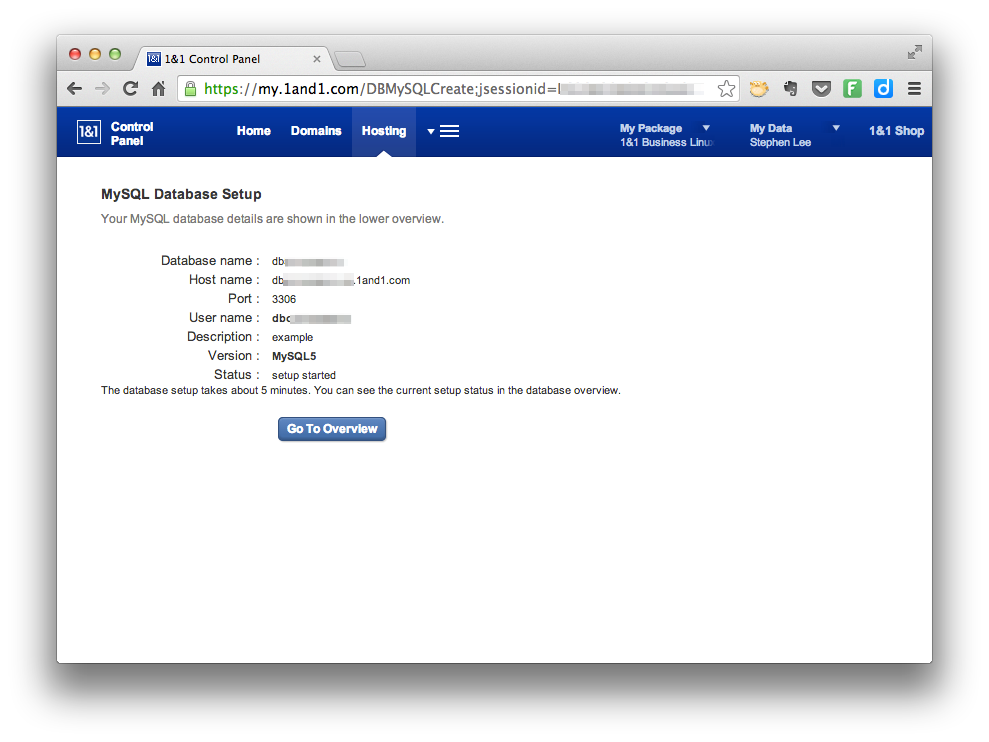
1and1 lists out some information about your database. I recommend saving this (and your random password) into a text file somewhere — if not permanently, then at least temporarily because we’ll need that information again in just a few minutes.
3. Upload WordPress
Now it’s time to upload the WordPress .zip file we downloaded earlier.
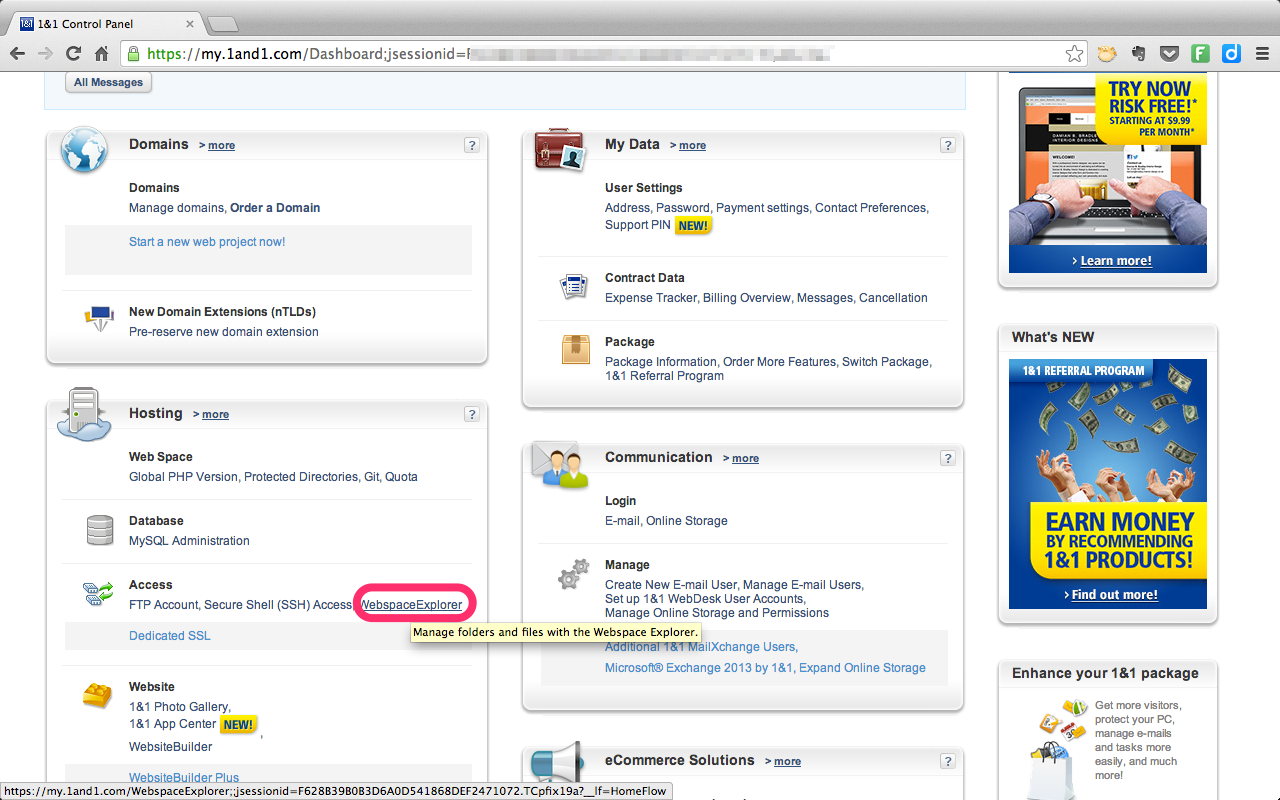
From your 1and1 Home screen, click the link for “WebspaceExplorer” in the Hosting section.
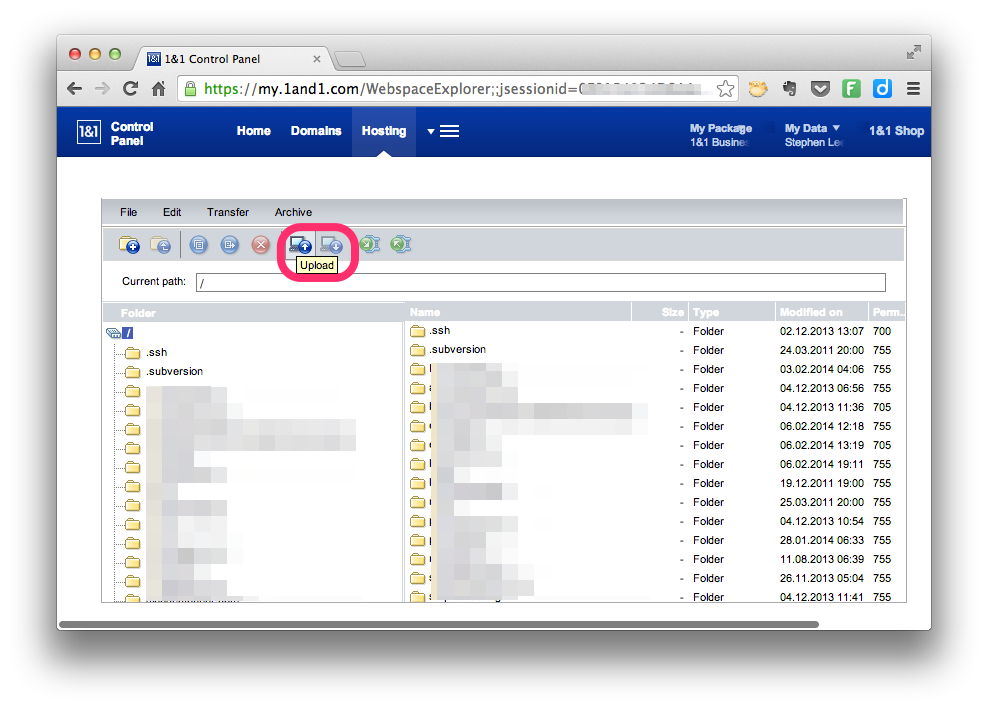
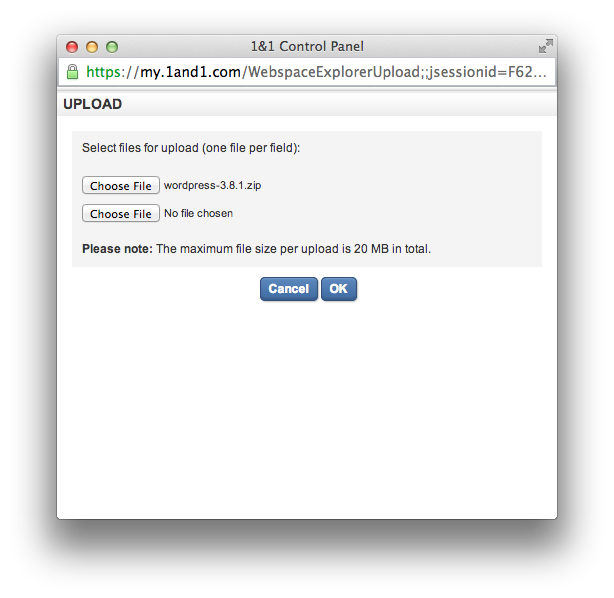
Click on the “Upload” button at the top of the WebspaceExplorer window.
In the pop-up window, select the .zip file and click “OK.” Depending on your connection speed, this might take a minute or so.
4. Extract WordPress
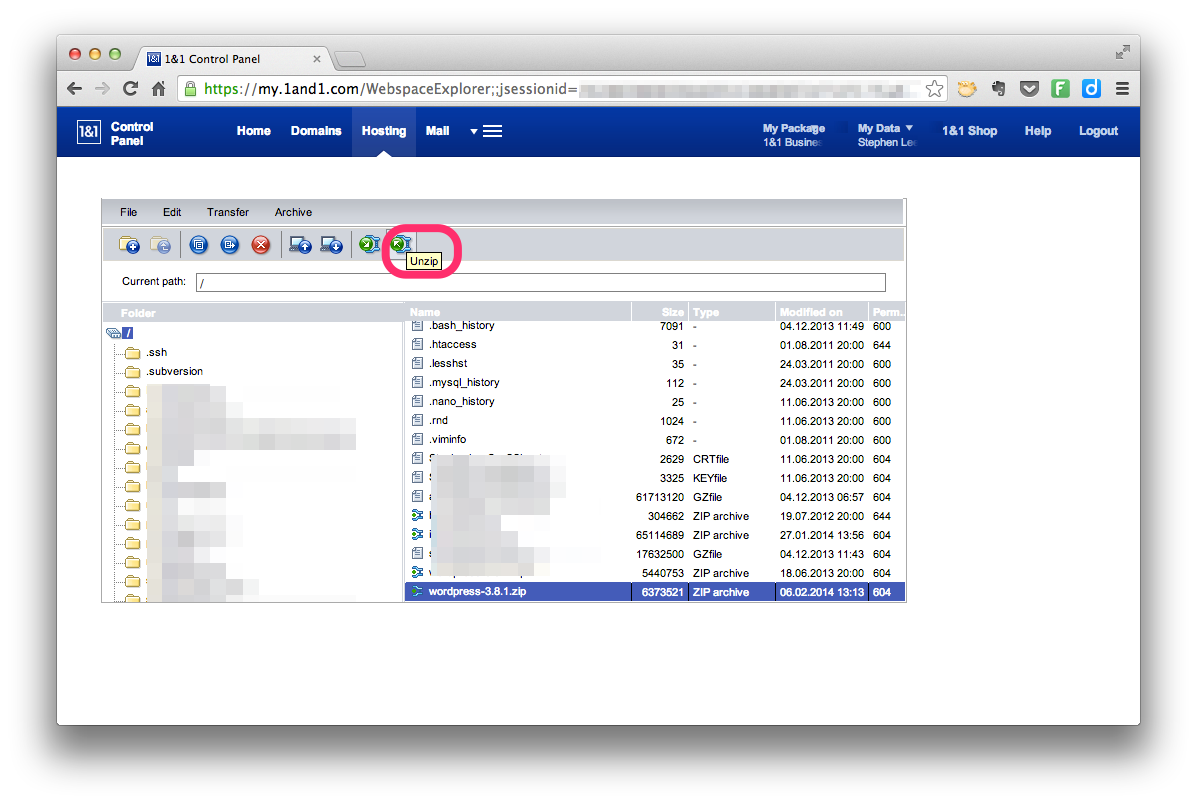
Once the file is finished uploading, you will see it in your folder in the Webspace Explorer. It doesn’t do us any good compressed, though, so your next task is to extract the file.
Fortunately, there’s an unzip button in the Webspace Explorer. Click that button at the top of window.
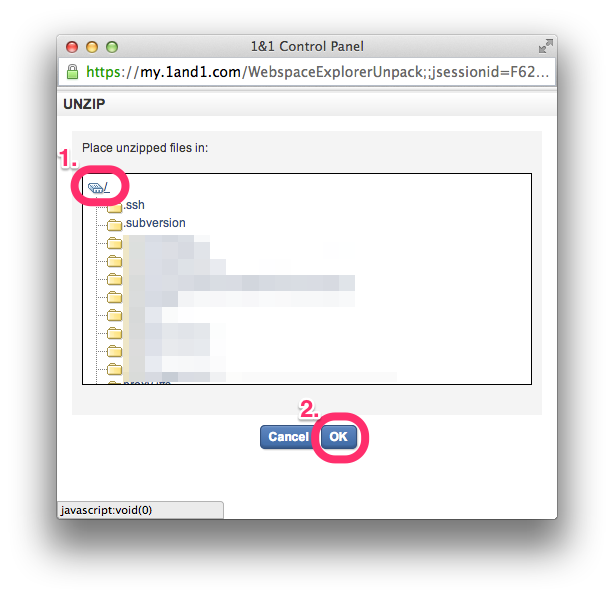
1and1 will ask you where you want the files to be saved. You don’t have to save it in the web root, but that’s where we’ll save it in this tutorial. If you don’t know of a reason to save it elsewhere, then you probably are fine to save it in the web root. To do that, simply click the drive icon at the top of the pop-up window and click “OK” then wait a moment for the extraction to complete.
5. (Optional) Rename the WordPress Folder
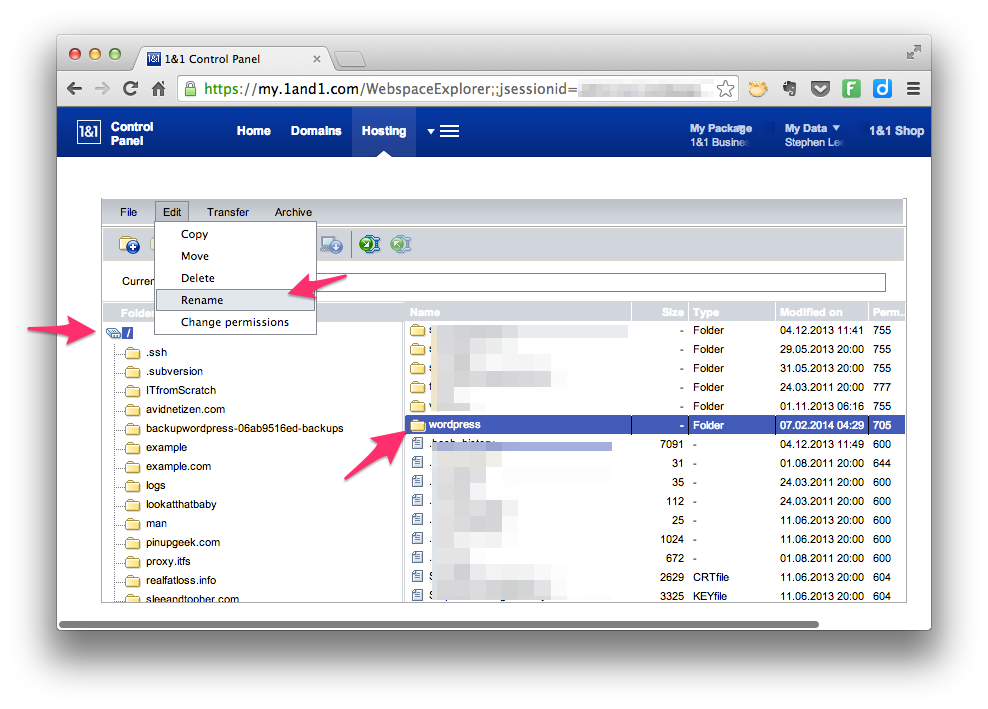
By default, the WordPress files will be extracted into a folder named “WordPress.” If this is the only site you are going to install on your hosting account, then you don’t necessarily need to change the folder name, but I find it useful for clarity later on to rename the folder to a more descriptive name. This is particularly true if you plan to have more than one site on the same hosting account.
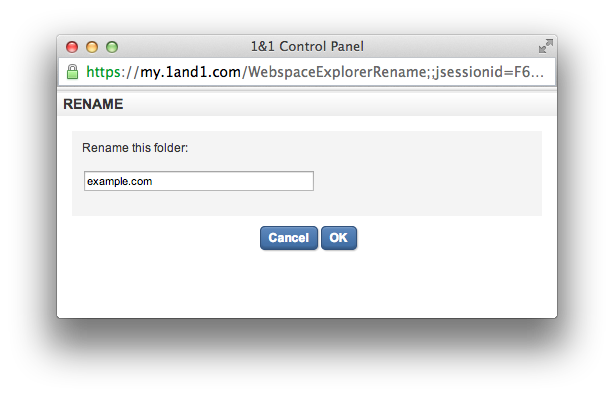
To rename the folder, click on the web root in the left pane of the Webspace Explorer (it’s the drive icon at the top of the folder list). In the right pane, locate the WordPress folder and click it. When that folder is selected, click the Edit menu at the top of the Webspace Explorer and click “Rename.”
A window pops up to ask you what you want to name the folder. Enter the name you want and click “OK.”
6. Point Your Domain at Your Folder
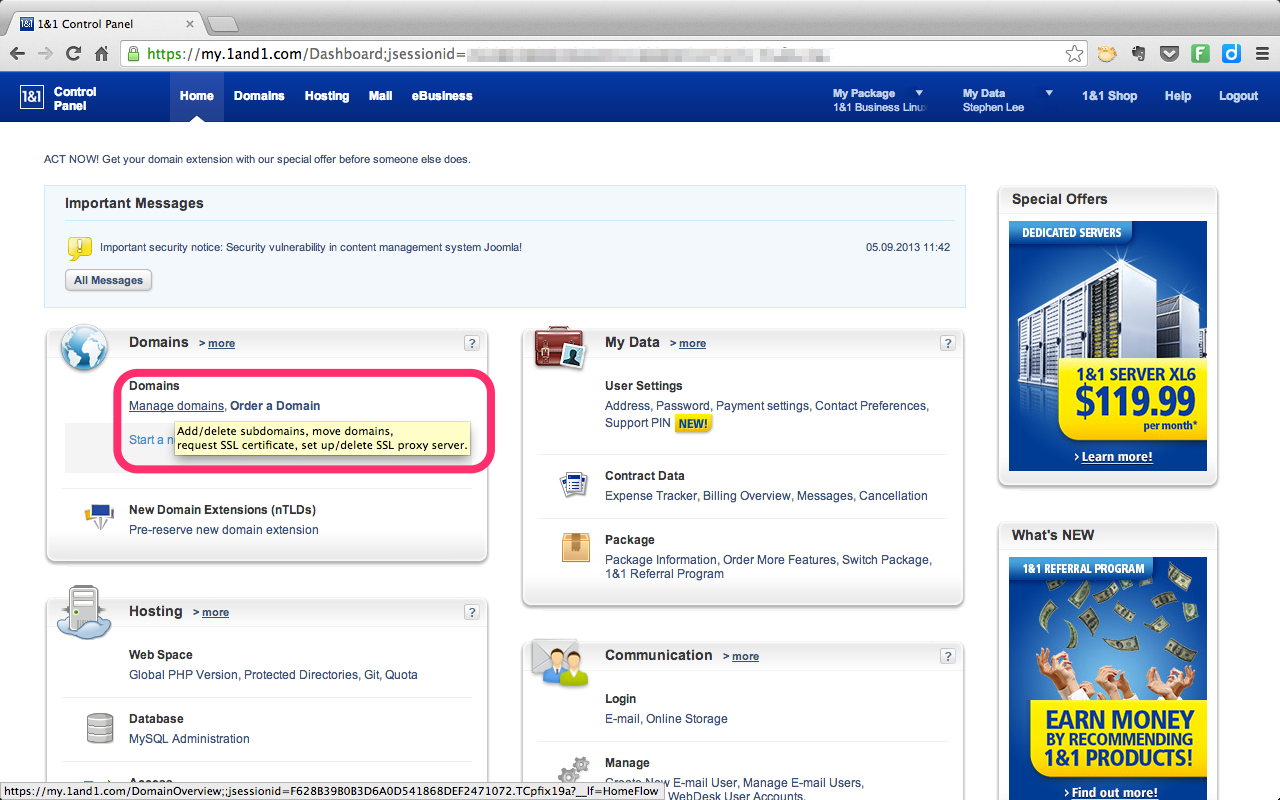
From your 1and1 home, click on “Manage Domains” in the “Domains” section.
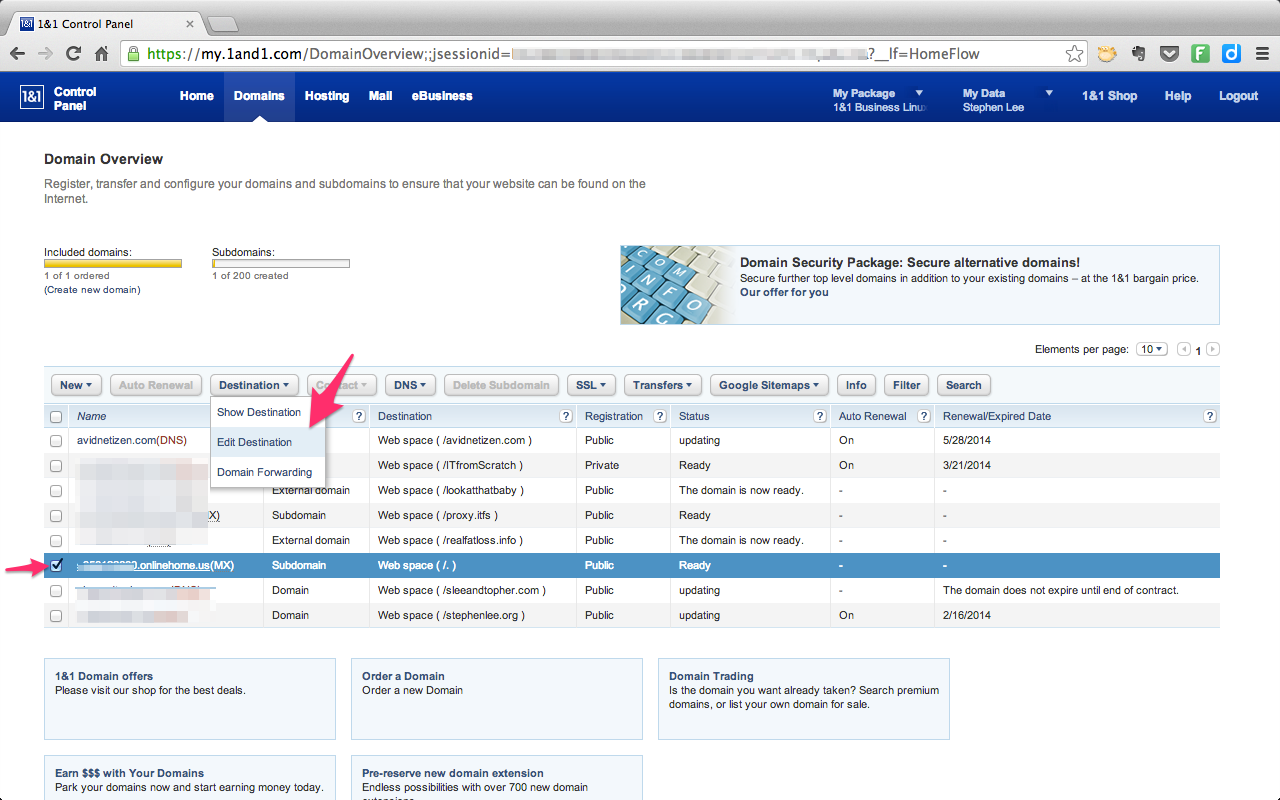
Click the checkbox next to your target domain and click the “Destination” button at the top of the window. Then click “Edit Destination.”
Click the “Edit” button, and then click the “Search” button. A pop-up window shows you a list of folders in your webspace. Select the folder where your WordPress files were extracted and click “Save.”
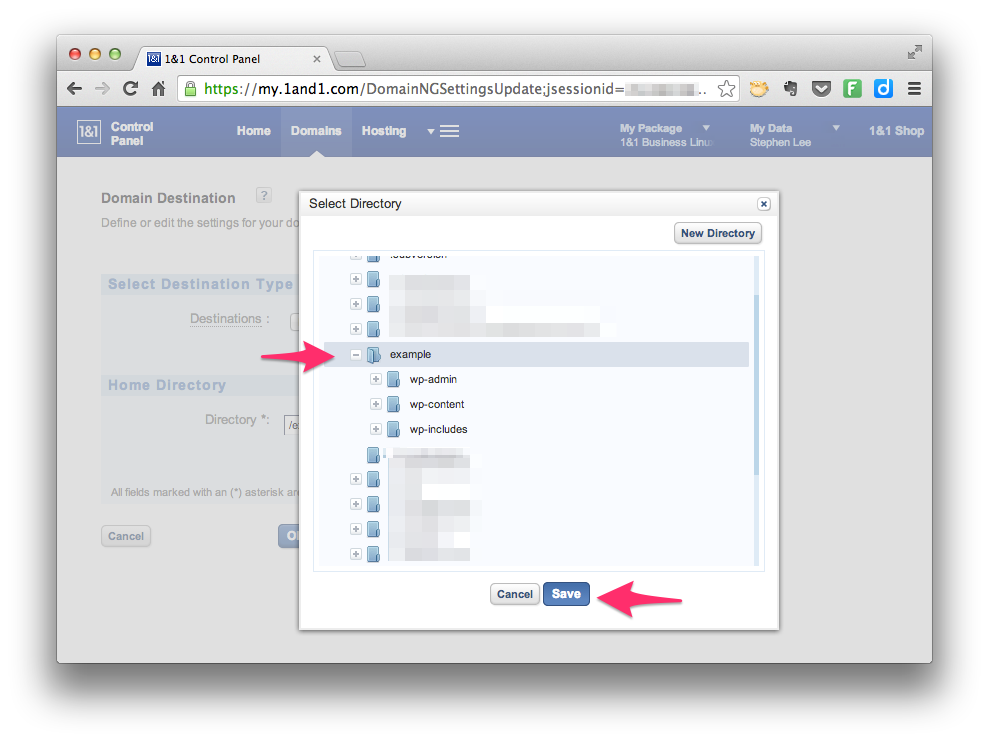
Then click “OK” to apply your changes.
7. Go Through the WordPress Install
It can take a few minutes for 1and1’s servers to start pointing traffic to your new folder. If you try to go to your site immediately, you’ll get an error like this:
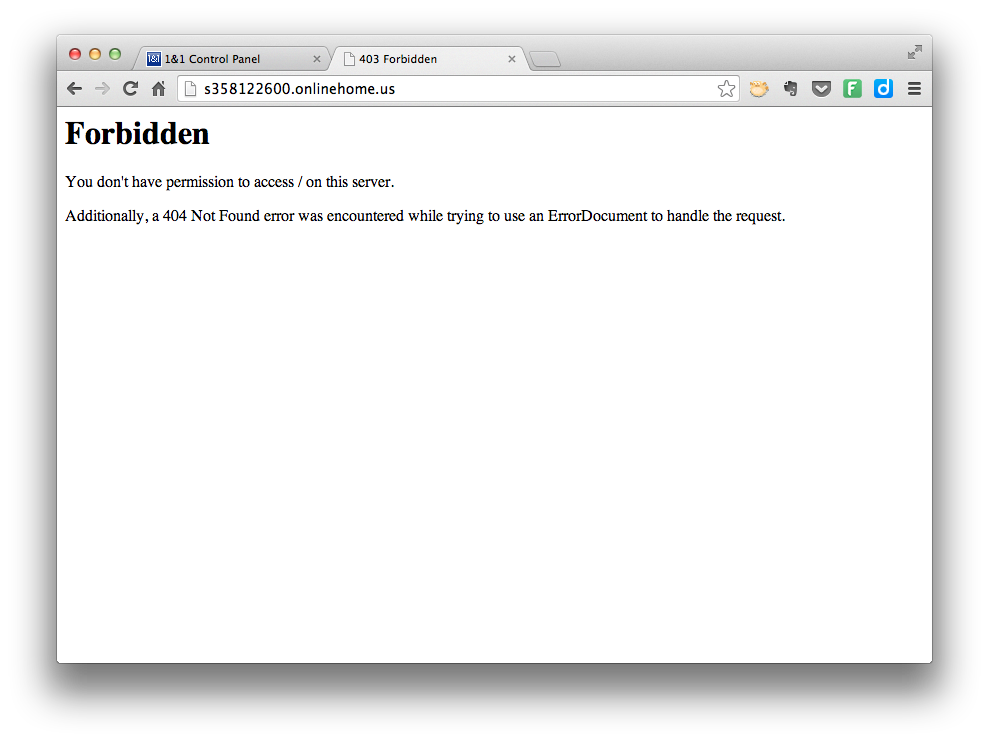
If you get this error, just wait a few minutes and try again.
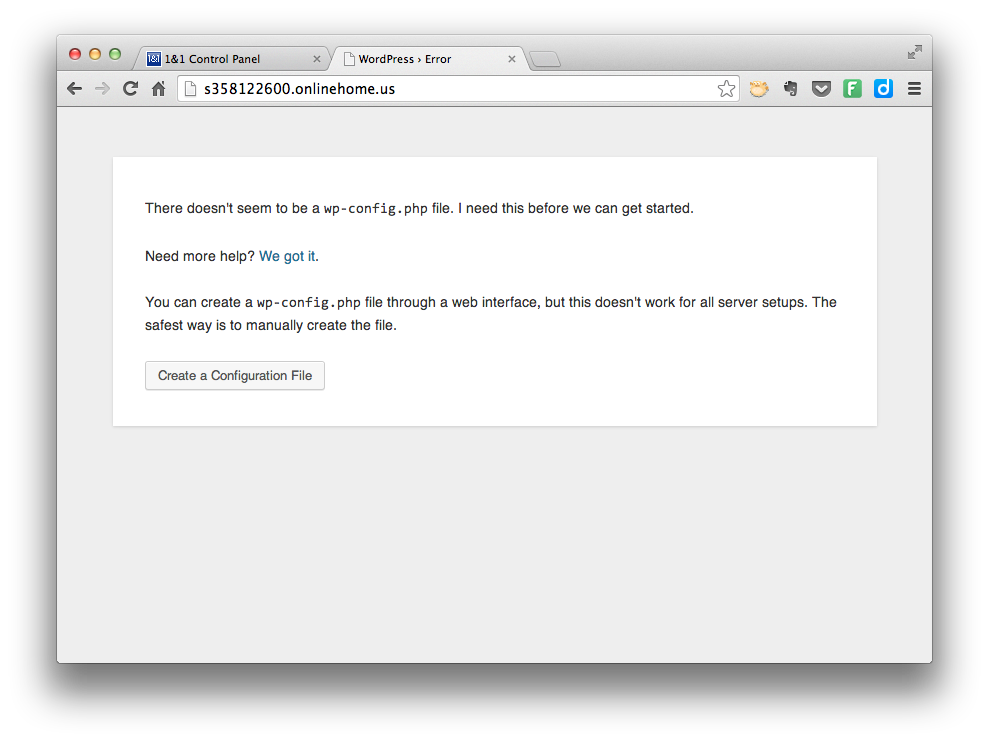
Once the servers have updated, navigate your browser to your domain name. If you’ve done everything right so far, you should get the WordPress notice that you don’t have a wp-config.php file yet. Click “Create a Configuration File.”
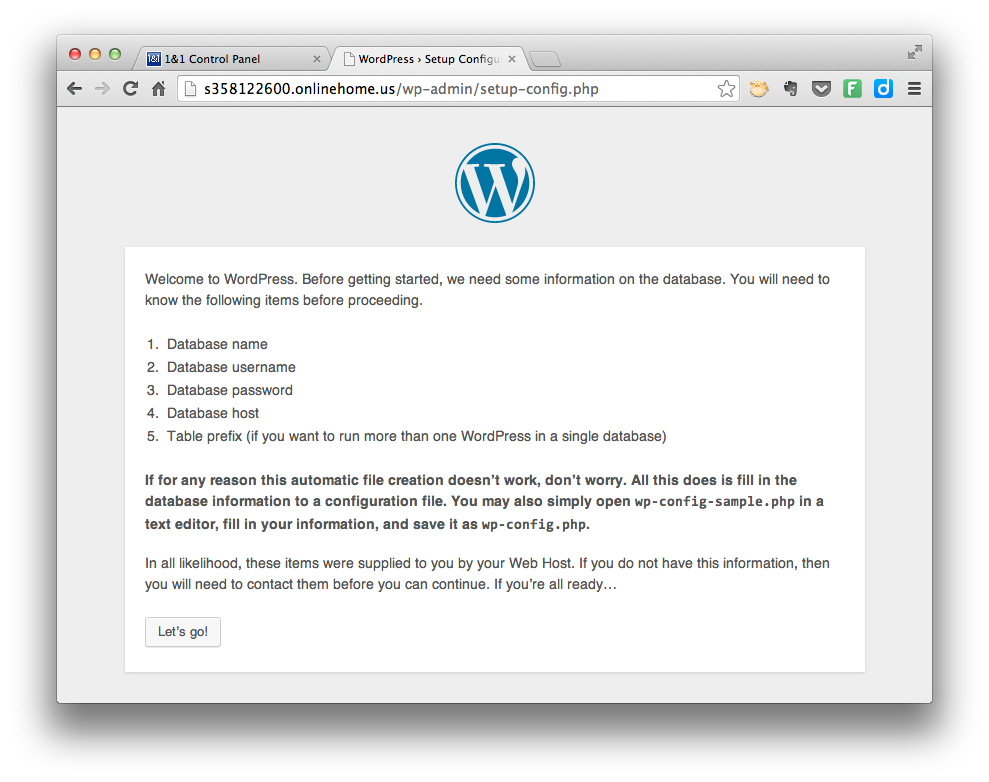
The next screen tells you the information you’ll need to make the file. This is the information we saved earlier when we created the MySQL database. Click “Let’s go!”
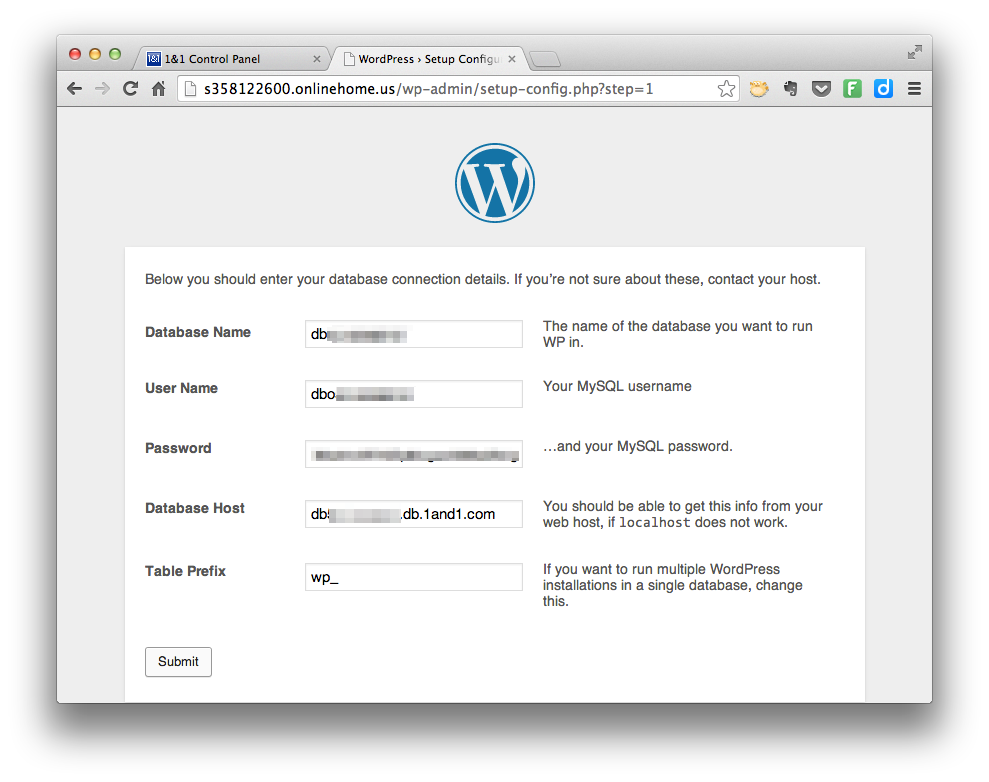
On the next screen, enter the database information that you saved from earlier. The table prefix defaults to wp_. This is useful if you have more than one web site or application using the same database. Unless you know of a reason why you should change it, you should be fine to leave the default prefix.
Click “Submit.”
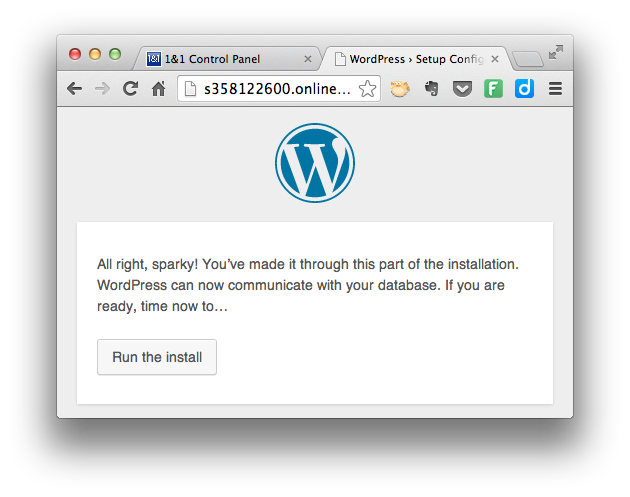
If all the information checks out, you can now run the install. Click “Run the install.”
The next screen is where you set some general information about your site. Enter the site name. Enter a username for the site administrator (that’s you!). Enter a strong password twice. Enter your email address. Leave the checkbox checked if you want Google (and others) to index your site — which you do if you want to show up in the search engine result pages.
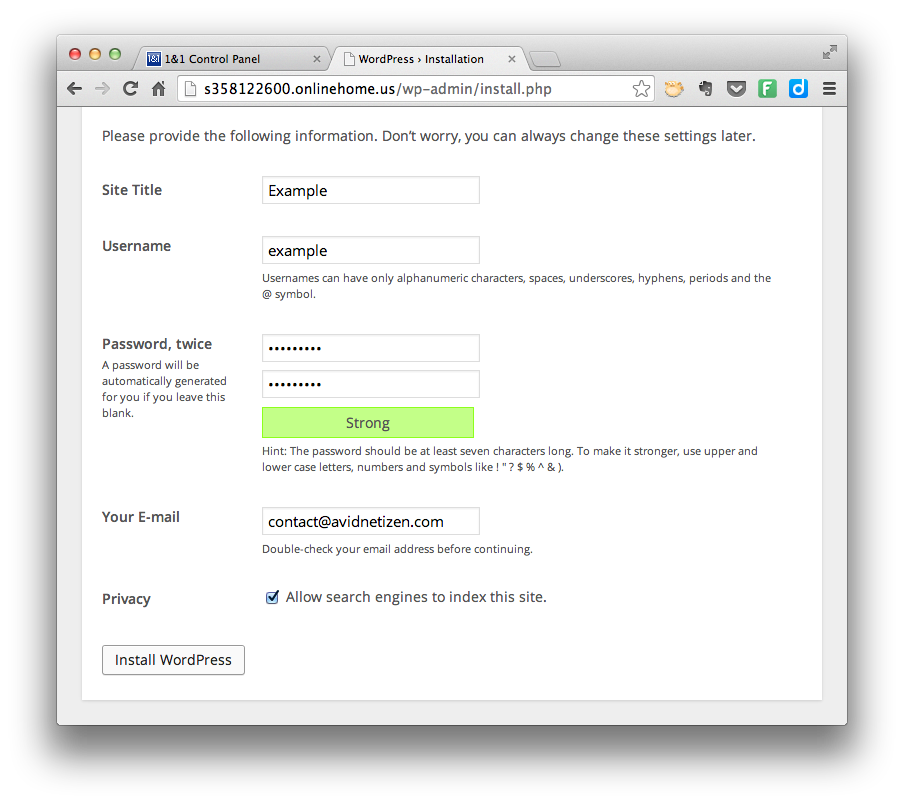
When you have all the information entered, click “Install WordPress.” The software goes through its scripts, and if everything goes as planned, you should now be greeted by a login screen.
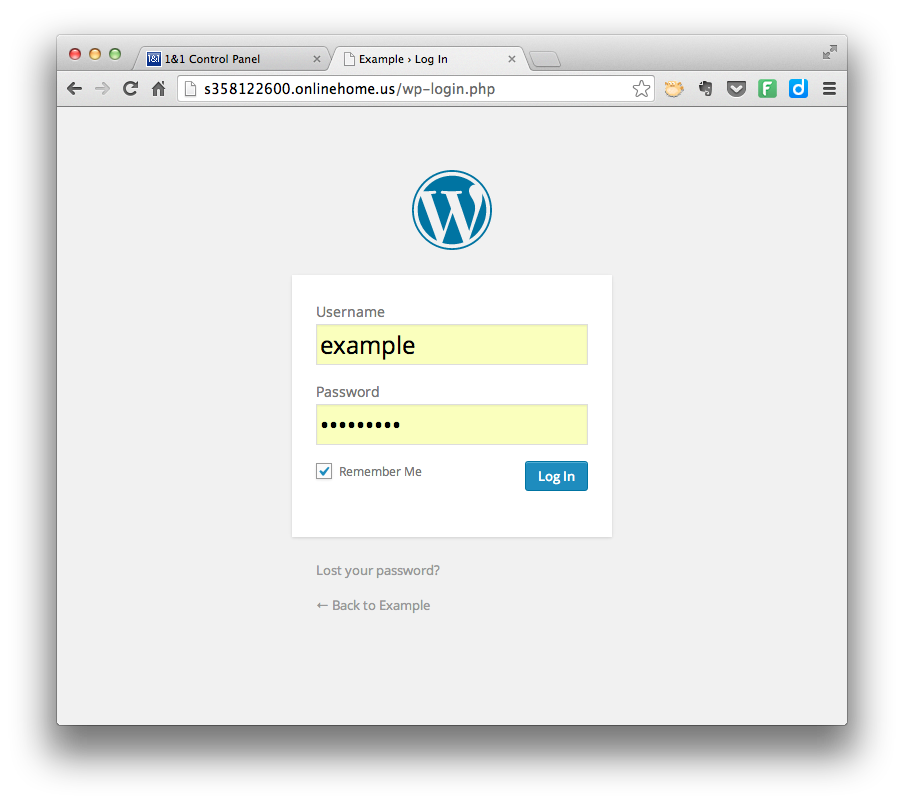
Enter the username and password for the user you created a few moments ago and click “Log In.”
You are now in your site’s administration dashboard.
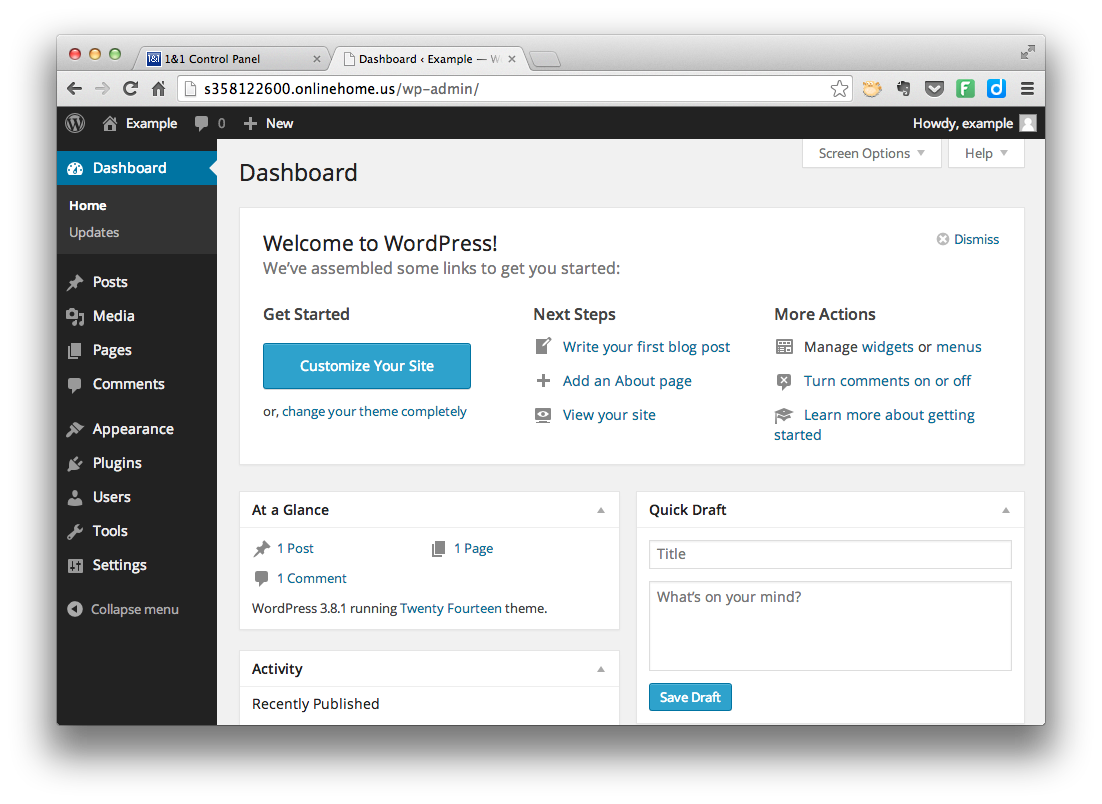
Welcome to your brand new WordPress site on your 1and1 hosting account.
For more articles about WordPress, web design, and web development, click here to follow Avid Netizen on Twitter or click here to sign up for email updates.
Would You Like Help With That?
If you want a WordPress site but don’t want to go through the hassle of setting it up yourself, please contact me. I’d be glad to set it up for you. Click here to get started.
Been looking for this and you just save me time! Cheers mate!
Instructions are fine on Linux hosting. On Windows Hosting the php.ini can not be modified, so I’m not sure if the default value for upload_tmp_dir can be modified. Without doing so, media files cannot be uploaded – instead giving the error: “xxxx.jpg” has failed to upload due to an error. Missing a temporary folder.
Any ideas? I’ve tried local copies of php5.ini, .user.ini, & php.ini.
Also needs to be entered into web.config to allow searching for this filename without explicitly naming it.
Nicely done! Thanks a bunch.